One universal truth of all podcasting is that great sound is a must. Without it, those listeners you’ve worked so hard to earn will quickly abandon your show in favor of another one with better-sounding audio. And while many of us focus on the best podcasting microphone for our shows an equally important piece of podcasting gear is a pop filter.
Castos is a participant in the Amazon Services LLC Associates Program. We may earn commissions from your purchases on Amazon.com, though at no cost to you.
Action
Haven’t started your podcast yet? Before you dive in, check out our complete guide on how to start a podcast.
What is a Pop Filter?
A pop filter is a piece of foam or thin mesh that sits between your microphone and your mouth.
It’s designed to dampen your plosives. Plosives are the burst of air you produce when making sounds like “P,” “T,” and “K,” such as in “Please” or “Today.” The pop filter is a mechanical filter you (the speaker) and your podcasting microphone to dampen this burst of sound.
Here is a visualization of what those Plosives look like in an audio editing tool like Adobe Audition:
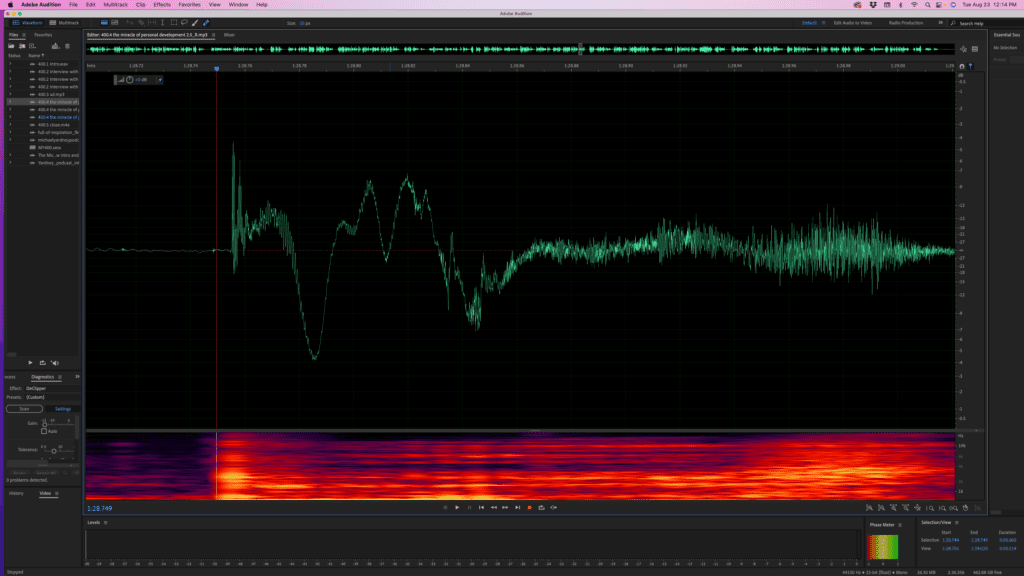
See that big, pronounced spike? That’s a plosive. You’ll need to (try to) remove it in the post-production process of creating an episode. But with a pop filter in place, those harsh plosives never make it into your recording because they’re dampened out before ever reaching the microphone.
There are a few different types of pop filters that you can use to enhance the quality of audio that you’re capturing for your podcast. Which you choose will depend on your microphone style, how you record, and where you’re located when recording.
Automatically publish your episodes to dozens of podcast directories
With Castos you can send all of your podcast content directly to directories like Apple Podcasts, Spotify, Amazon Music, Stitcher, Google Podcasts, and many others.
Meet your audience where they already listen to podcasts!
No Credit Card Required
Different Types of Pop Filters
A lot of the decision around which type of pop filter to use come down to the microphone that you’re using. A more conventional shaped microphone like a Samson Q2U or the Shure SM7B with a round, ball-shaped screen will accommodate both a foam cover and a flat style pop filter.
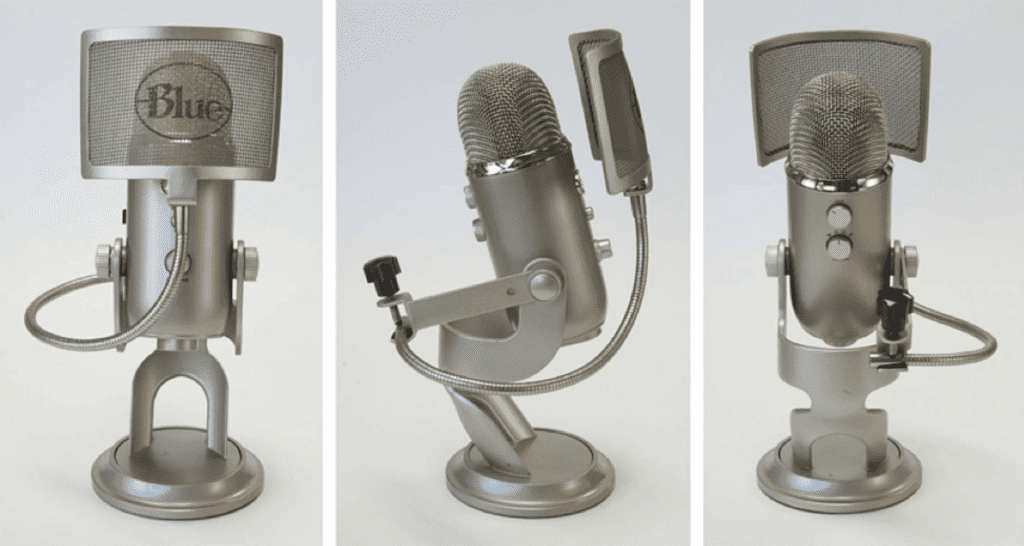
If you’re using a side-address microphone like the popular Blue Yeti pictured below, then a foam cover won’t fit your microphone and you’re going to want to use a flat, nylon mesh style pop filter.
Benefits of a foam wind screen
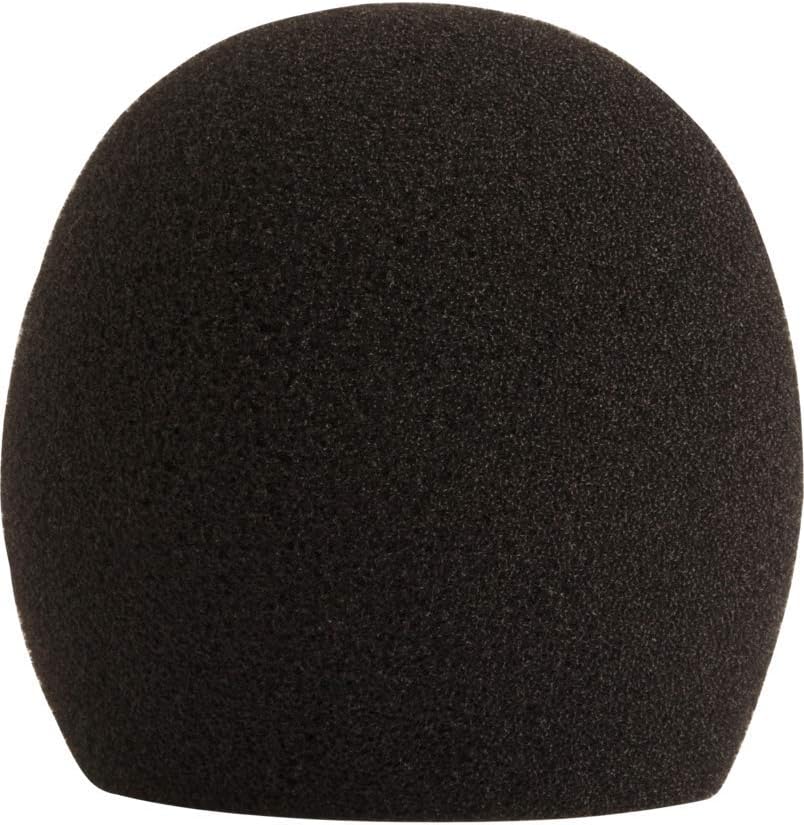
One of the advantages of a foam wind screen style pop filter is that it is relatively small and unobtrusive. Trusted by field-based news reporters for decades, this style of pop filter does a great job of dampening out several different kinds of external noises from your microphone.
These also are very fixed. Fitting snugly over the top of your microphone, there’s almost zero chance that they will move during your recording, even if they get bumped.
Drawbacks of a foam wind screen
While the foam wind screen style is great, it just doesn’t work for all microphone types. For instance, it’s no help if you’re using a side-address mic like the popular Blue Yeti. Additionally, some audio experts don’t believe that a wind screen dampens plosives as effectively as a nylon mesh pop filter.
Benefits of a nylon mesh pop filter
The nylon mesh filter is the gold standard in pop filters when you look at studio recording environments. This is because they achieve the best of being universally adaptable to all microphone types, are adjustable to fit the style and location needs of a recording artist, and only dampen out the right kinds of sounds (and not keeping those good sounds we want to capture).
Drawbacks of a nylon mesh pop filter
The articulating “gooseneck” arm that allows you to position the mesh style filters between the microphone and your mouth are sometimes tempermental. Depending on how your mic stand and setup is arranged, you could have quite a bit of bend in this arm to get the pop filter in the right spot.
Also, the nylon mesh filters are not very durable. They can break or tear rather easily if dropped or bumped into with something abrasive.
Installing Your Pop Filter
Once you’ve chosen the type of pop filter that you want to use (which, like we said, comes down to the one that best fits your podcasting microphone), then it’s time to install it.
If you’ve chosen the foam windscreen cover style, it will simply slide over the end of your podcasting mic. These are nice because they don’t move around and get in the way while you’re recording. This is especially useful if you’re recording video for your podcast as well and don’t want a large pop filter screen blocking your video.
If you opt for a flat nylon screen style pop filter, they normally come with an adjustable arm that attach to your microphone or mic stand. This attachment point is usually around the area where your mic stand attaches to a boom arm if you’re using one.
How to Use a Pop Filter
Once your pop filter is installed, you’re all set to go. Just ensure that it is stable and isn’t moving while you record. This could create detrimental artifacts during your recordings, which are the very thing you wanted to avoid when getting a pop filter in the first place.
The 3 Best Pop Filters That We Like
Here’s our list of the best pop filters for your podcast.
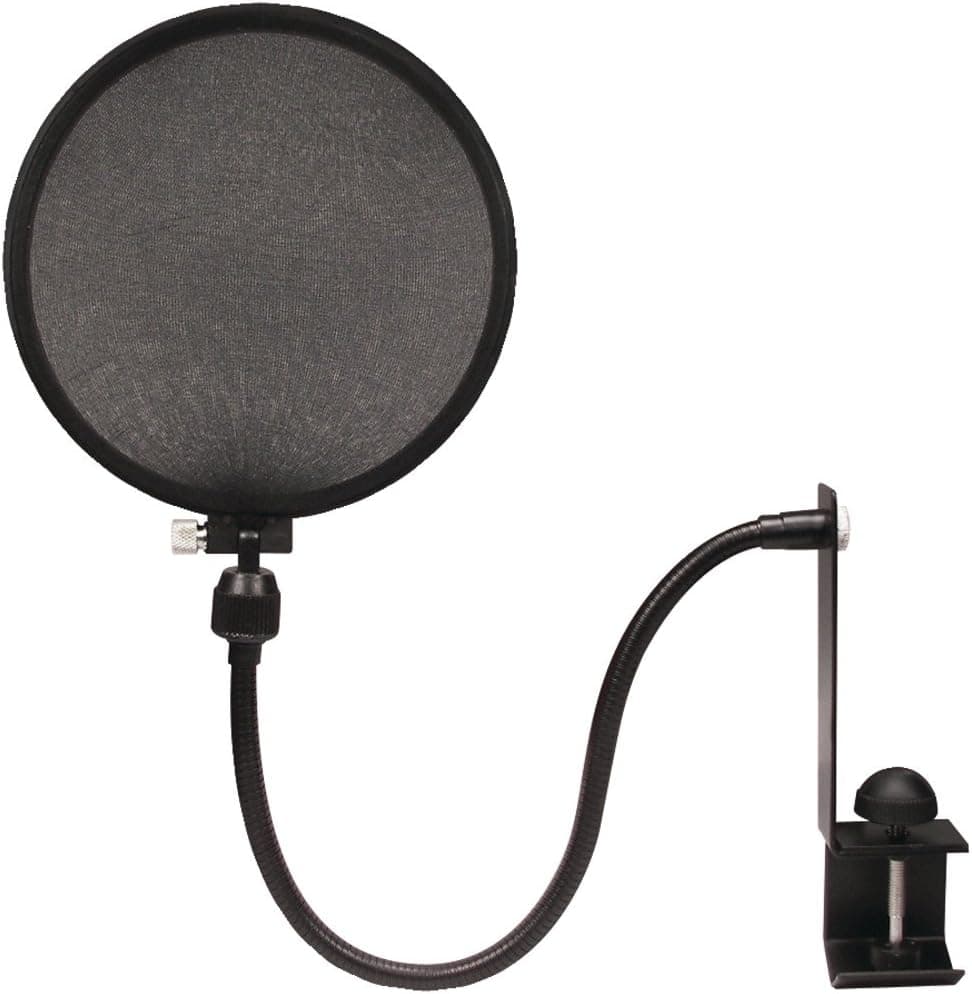
1. Nady MPF-6
The Nady MPF-6 is our top pick because of its combination of great quality and a reasonable price. In addition to a double mesh nylon screen, it has a clip style attachment to your boom arm so you can mount this pop filter anywhere that is convenient for you.
The only downside is that the frame is made of plastic, so it may not hold up as well as some that are made of metal.
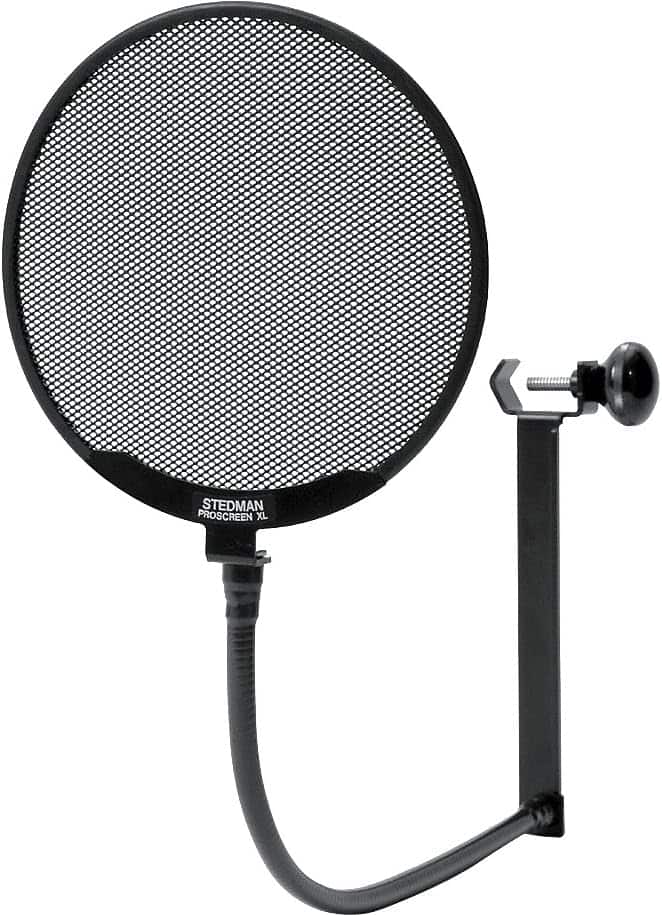
2. Stedman Proscreen XL
Additionally, the Stedman Proscreen XL has angled openings in the mesh to allow for better passthrough of the sound you actually want to capture with your podcasting mic, while still dampening out those harsh plosive sounds.
As opposed to the nylon mesh construction of the Nady, the Stedman pop filter screen is made of high grade aluminum, so it’s much more durable.
3. Shure A58WS
Technically not a pop filter but a wind screen this foam composite microphone cover gives you a lower profile option for those front-address microphones like the Samson Q2U or Audio Technica ATR2100x-like models.
As an added benefit, if you’re podcasting outdoors or are traveling with your podcasting setup, this is a highly mobile option for those of us on the go.
Whether you go with a more conventional mesh pop filter or a foam windscreen, the goals are the same: to mechanically dampen the harsh plosive sounds that come with our normal speaking patterns. Doing this will save you countless hours (and headaches) in the post production process in editing your podcast.




Comments are closed.