The Best Lighting for YouTube Videos: Top Products and Lighting Tips

Castos is a participant in the Amazon Services LLC Associates Program. We may earn commissions from your purchases on Amazon.com, though at no cost to you.
Whether you’re an aspiring vlogger, a beauty guru, a gamer, or a tutorial enthusiast, one crucial factor can make or break the success of your YouTube videos: lighting. The right lighting not only enhances the visual appeal of your content but also helps you convey your message effectively.
In this article, we explain why you need good lighting, break down five useful lighting techniques, and offer some products to help you produce the best lighting for YouTube videos.
Why Do You Need Good Lighting for Videos?
Good lighting enhances the overall visual quality of your videos. It ensures that the subject is well-lit, allowing viewers to see details clearly and making the video more visually appealing.
Personally, I have a really hard time watching videos with poor lighting. It’s like my eyes are always straining to see the subject better.
Good lighting also helps create a professional and polished look. It reduces shadows and minimizes imperfections, making you (or the subject) appear credible and engaging. This professionalism is important to build a strong brand and attract a larger audience.
Furthermore, proper lighting can convey the desired mood or atmosphere in a video. Different lighting setups can evoke emotions, set the tone, and enhance storytelling. Whether it’s a bright, cheerful vlog or a dramatic cinematic piece, lighting plays a pivotal role in shaping the viewer’s perception.
Lastly, well-lit videos are more engaging and retain viewers’ attention. When viewers can see the content clearly, they are more likely to stay engaged and watch the video to the end. This can lead to higher viewer retention rates, increased subscriber counts, and improved overall success on YouTube.
Natural Lighting
Natural lighting is just what it sounds like – light that comes naturally from the sun or other ambient light source without artificial lighting equipment.
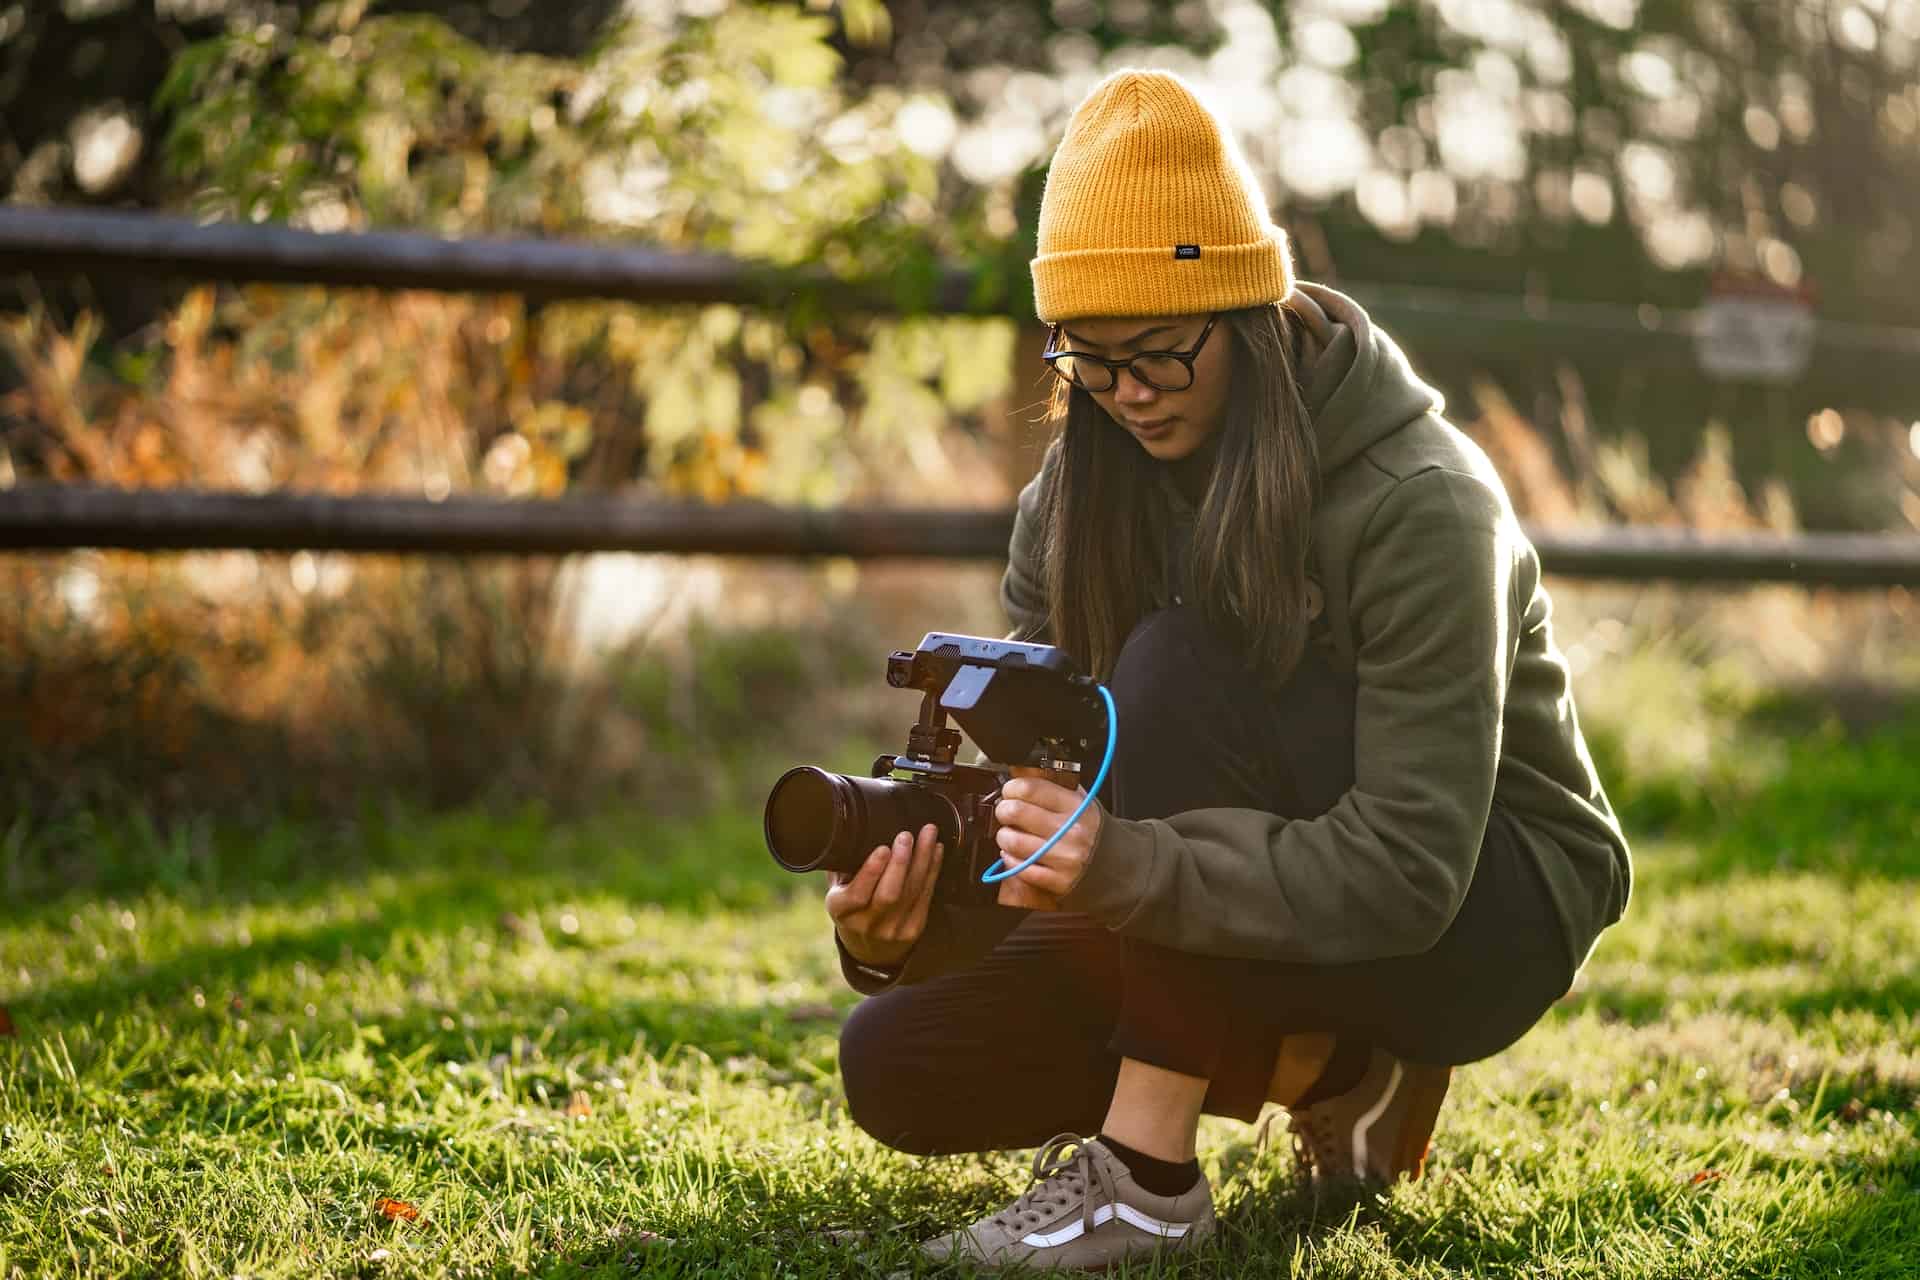
It’s excellent for videos when you want a genuine, organic look, such as vlogs, outdoor scenes, or documentaries. The soft, diffused light during sunrise or sunset provides a warm, flattering glow, while midday sunlight can be vibrant and energetic.
Using natural light can be cost-effective and easy to work with, but it’s crucial to plan shoots around weather conditions and time of day for consistent results. If you’ve ever seen someone record outside on an overcast day, you know that natural lighting can sometimes be bad lighting.
When to Use Natural Lighting
Use natural lighting for videos when you seek a soft, authentic look or want to showcase outdoor settings. Golden hour lighting (sunrise or sunset) creates a warm, flattering glow, while it’s cost-effective for vlogs and documentaries. However, it requires planning around weather and time of day to ensure consistent results.
How to Set Up Natural Lighting
- Shoot during the golden hours (sunrise or sunset) for soft, warm light.
- Position your subject facing the light source for a flattering glow.
- Use diffusers or reflectors to soften and control harsh sunlight.
- Be mindful of clouds and weather changes that can affect your lighting.
- Schedule shoots to align with the desired lighting conditions.
Natural Lighting Equipment
- 79-inch Oval 5-in-1 Diffuser/Reflector/Blocker
- Westcott White with Black Cover Parabolic Umbrella
- Sekonic Flash Master Light Meter
Softbox Lighting
Softbox lighting delivers soft and diffused light. It consists of a box-shaped structure covered in a translucent material, encasing a light source like continuous lights or studio flashes.
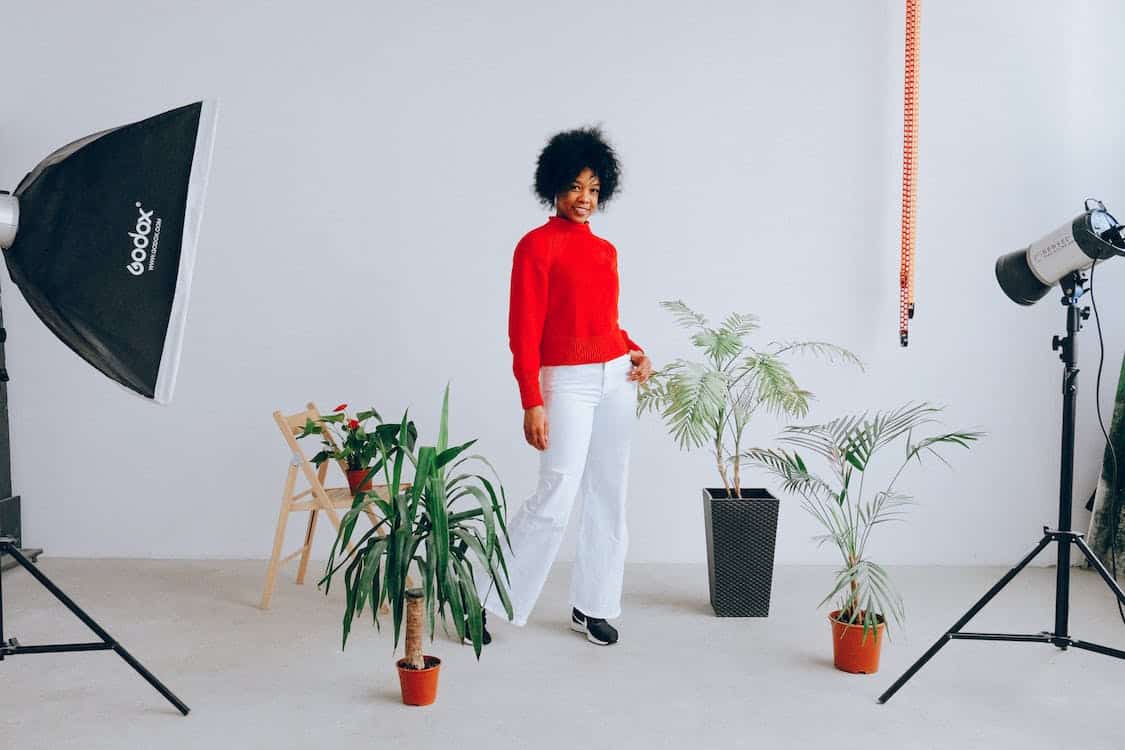
Softboxes scatter and soften light, making it even and gentle. It provides a flattering, wrap-around illumination that minimizes harsh shadows and prevents intense highlights. It also reduces glare and reflections on reflective surfaces.
Furthermore, softboxes are versatile, coming in various sizes and shapes, so they adapt to different filming locations and setups, giving you precise control over your light’s direction and intensity.
When to Use Softbox Lighting
Use softbox lighting for portrait photography, product shoots, and interviews. It’s ideal when you want to create soft, even light without harsh shadows and glare. Softboxes work well for capturing details, enhancing skin tones, and creating a flattering, professional look.
How to Set up Softbox Lighting
- Assemble the softbox by attaching its rods and securing the diffusion panel.
- Place the softbox on a light stand or mount.
- Insert a light source, such as a continuous light or studio flash, inside the softbox.
- Adjust the angle and distance from the subject to achieve the desired lighting effect.
- (Optional) Add diffusers, grids, or baffles for further light control.
Softbox Lighting Equipment
- RALENO Softbox Photography Lighting Kit
- MOUNTDOG Softbox Lighting Kit
- Fovitec 3-Light Fluorescent Studio Lighting Kit
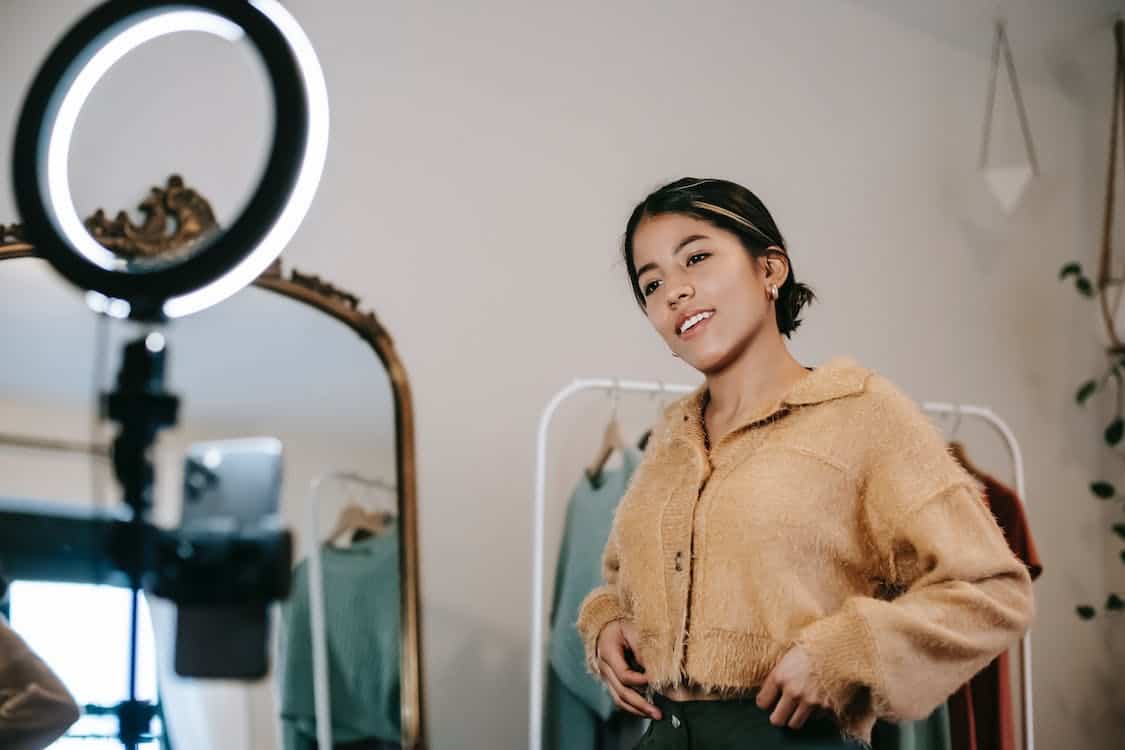
Ring Lighting
Ring lighting is a circular, continuous light source often used in videos and photography. It consists of LED bulbs or fluorescent tubes arranged in a ring-shaped fixture.
This lighting is particularly effective for videos when you want to achieve even, shadowless illumination on the subject’s face. It creates a distinctive halo-like catchlight in the eyes and minimizes unflattering shadows.
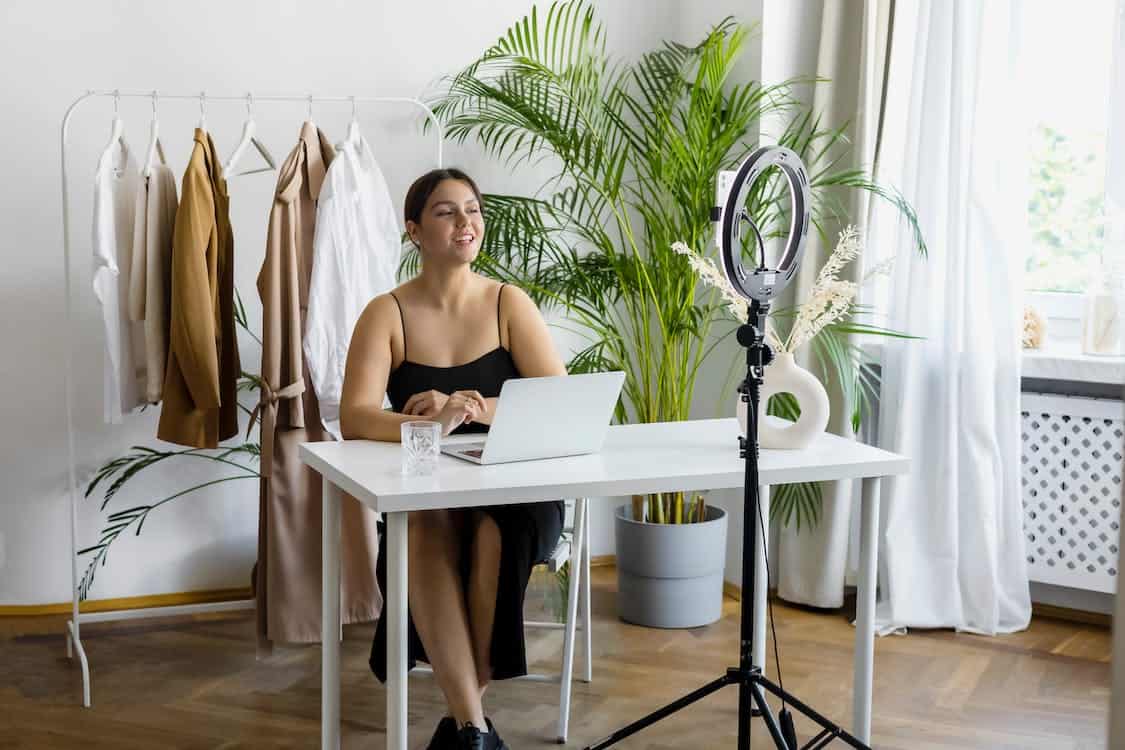
When to Use Ring Lighting
Ring lighting is popular for makeup tutorials, beauty vlogs, and close-up shots, as it enhances the subject’s appearance and provides a pleasing, flattering look. It’s also beneficial for interviews and product videos where a well-lit, evenly illuminated subject is essential.
If you don’t record YouTube videos, but still want clear lighting for Zoom meetings or Skype sessions, ring lighting is the type of lighting you should choose. Putting one light behind your monitor facing your face is ideal. Many of us at Castos use a ring light to help see each other during meetings.
How to Set up Ring Lighting
- Position the ring light directly in front of the subject, encircling the camera lens.
- Set the ring light to the desired intensity for even illumination.
- Attach diffusers or filters to soften the light and reduce harsh shadows.
- Opt for adjustable ring lights to match the desired color temperature.
- Film through the center of the ring to achieve the characteristic catchlight effect.
- Tilt the ring light for different lighting effects and styles, such as close-ups.
Ring Lighting Equipment
- Westcott 18” Bi-Color LED Ring Light Kit
- Razer Ring Light with Tripod
- Lume Cube Ring Light Pro
- Neewer 18 Inch Ring Light Kit
LED Lighting
LED lighting consists of light panels that are composed of numerous LED bulbs. It’s excellent for videos due to its versatility, energy efficiency, and low heat emission. LED lights also offer adjustable color temperatures, making it easy to match or create desired lighting conditions.
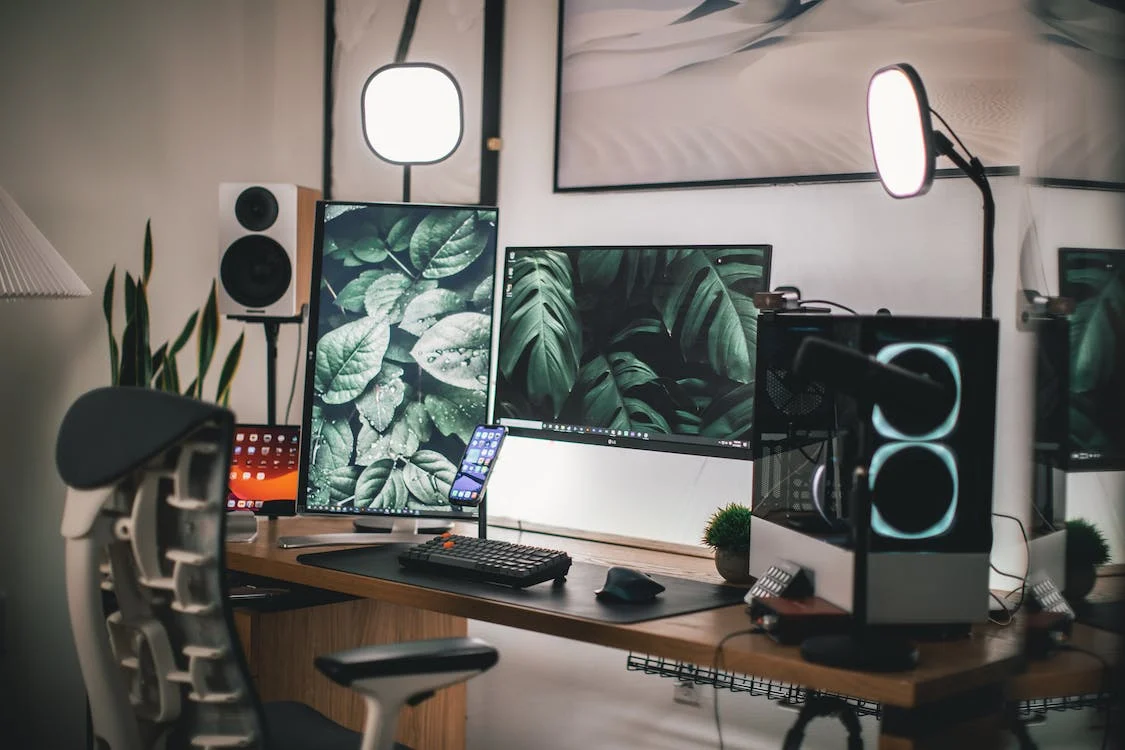
LED panels provide consistent, soft illumination, reducing harsh shadows and enhancing the subject’s appearance. They’re also portable and can run on batteries, making them ideal for on-location shoots.
When to Use LED Lighting
LED lights are versatile, portable, and energy-efficient, making them suitable for various video production needs. Use LED lights in a range of scenarios, such as indoor and on-location shoots, interviews, product demonstrations, and vlogs.
This is a very affordable method of lighting a space, and my personal favorite. The lights are cheap to buy and cheap to run, so don’t be afraid to pick up a few. I have three at my desk.
How to Set up LED Lighting
- Position the LED lights strategically to illuminate the subject evenly.
- Set the desired brightness level on the LED lights.
- Adjust the color temperature to match your desired look.
- Attach diffusion materials or softboxes to soften and spread the light.
- Ensure the camera is correctly aligned with the LED lights.
LED Lighting Equipment
- NEEWER 160 LED Dimmable Ultra High Power Panel Light
- Rotolight NEO 2 LED Camera Light, Continuous Adjustable Color
- SmallRig 220W Bi-Color LED Video Light
3-Point Lighting (LED)
Three-point lighting involves three key light sources strategically positioned to enhance the quality and visual appeal of videos. This technique creates a balanced and flattering illumination of the subject.
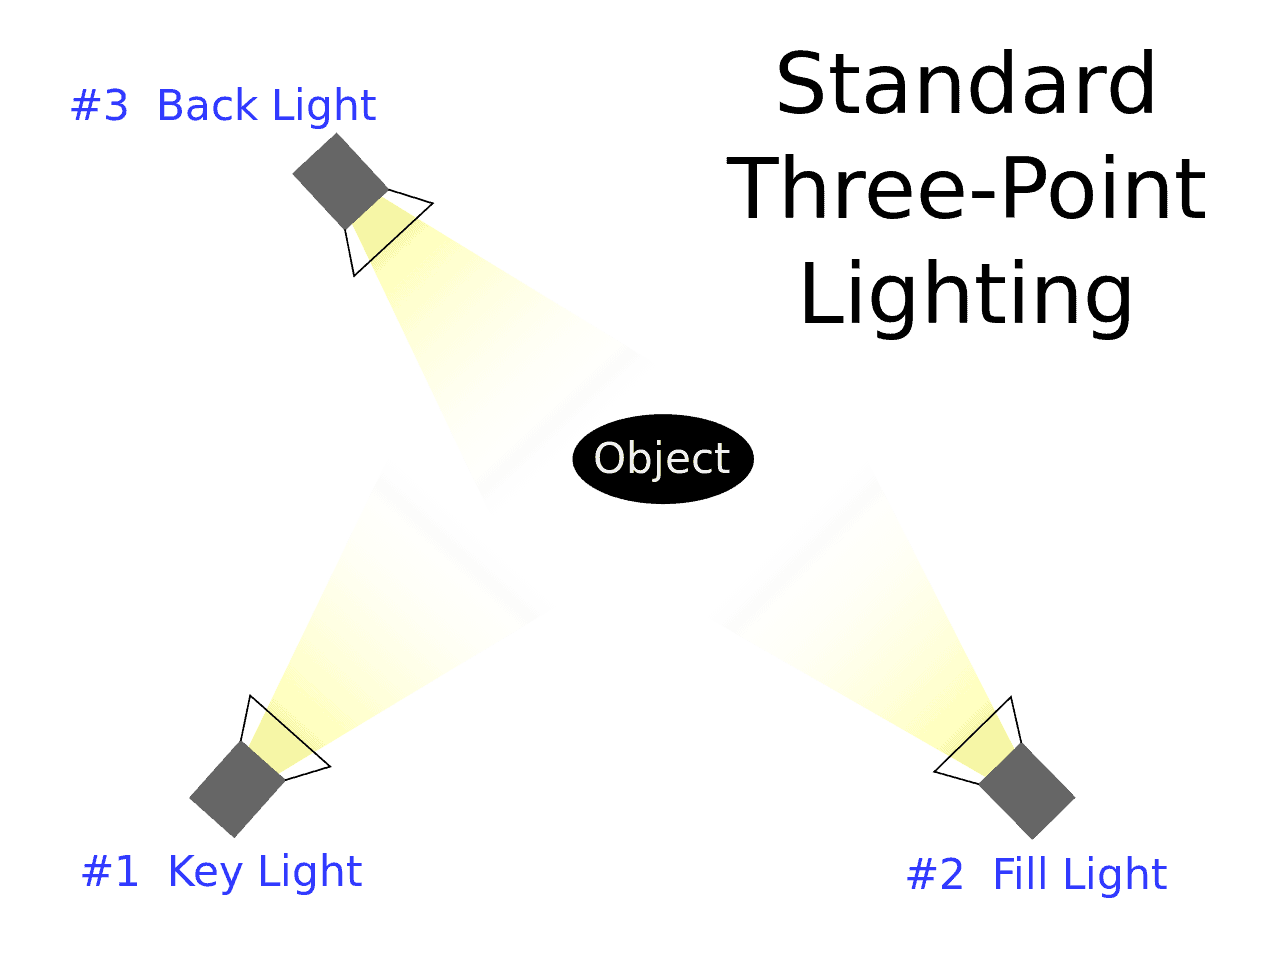
The key light, placed at a 45-degree angle to the subject, provides the primary light source, emphasizing the subject’s form and features.
The fill light, situated opposite the key light, softens shadows and evens out the lighting, preventing overly harsh or unflattering contrasts on the subject’s face or objects.
Lastly, the backlight or rim light, positioned behind the subject, adds separation from the background, giving depth and dimension to the shot.
When to Use 3-Point Lighting
To be honest, I’ve never used 3-point lighting myself. It’s usually reserved for larger productions that can dedicate a space to be a set. But I’ve spoken with lots of creators who use it every day.
3-point lighting should be used whenever you want to achieve well-lit, professional-looking videos or photos. It’s particularly valuable in controlled indoor environments where you have the flexibility to set up and adjust lights for optimal results, ensuring your content appears polished and engaging.
How to Set Up 3-Point Lighting
Setting up a 3-point lighting system involves positioning three light sources that work together. Here’s a brief list of steps to set it up:
-
Place the key light at a 45-degree angle to one side of the subject. Position it at a slightly higher angle than the subject, aiming downward. This light is the primary source and provides the main illumination.
-
Position the fill light on the opposite side of the key light. Place it at a lower intensity or further away to reduce shadows created by the key light. It softens shadows without eliminating them, creating a balanced look.
-
Position the backlight behind the subject, typically at a higher angle. It should be aimed toward the subject from behind. The backlight separates the subject from the background, creating depth and highlights the subject’s edges.
-
Adjust the intensity of each light to achieve the desired look. Experiment with the angles and brightness to control the mood and style of your lighting.
-
Test the lighting setup by taking test shots or recording short clips.Make adjustments as needed to achieve the desired lighting effect. Pay attention to shadows, highlights, and overall balance.
3-Point Lighting Equipment
- NEEWER Photography Lighting kit with Backdrops
- Fovitec 3-Light Fluorescent Studio Lighting Kit
- GVM 3 Pack LED Video Lighting Kit
- LINCO Lincostore Photo Studio Lighting Kit with Backdrop Stand
Your Lighting for YouTube Videos Tips
We explained five of the most common lighting techniques for YouTube videos, but you may have unique needs depending on your subjects and recording environments. What strategies do you use for lighting for YouTube videos? Let us know in the comments.
Launch Your Podcast In Minutes
Castos makes launching simple with one-click setup, automatic distribution to all platforms, and professional hosting. No technical skills required.
Start your 14-day free trial